
Your cart is currently empty!

Many people may not realize that I’m an artist at heart. Computers are a more recent passion for me—I’ve been working with them for 25 years, but I was born an artist. When we started Lithgeek Custom Gaming Computers, we knew we had to find a way to stand out from the competition. Something truly unique that would give us an edge over larger shops. In our shop, a few of my paintings are displayed, and one that has gained a lot of attention is a blue dragon. This sparked the idea: why not create a cHand-painted Gaming computer inspired by that design?
Step 1: Sketching on Paper – The Foundation of Good Art
Like any great piece of art, it all begins with a few rough sketches on paper. While diving straight into a painting can work in some situations, a commissioned project like this requires a bit more planning. I start with paper and pencil, brainstorming ideas and revisiting some of my previous sketches.
Most of these early sketches won’t resemble the final product, but that’s part of the process. It helps me define what I truly want in the design and the overall vibe of the painting.


Step 2: Using Chalk to Map Out the Composition
Before painting, I use chalk to rough out the design on the computer case itself. Since most of my artwork involves painting on 3D objects (primarily people), one common challenge is accounting for how a 3D surface affects the composition. What looks great on paper may not translate well onto a curved or angular object like a computer case.
By sketching with chalk directly on the case, I can get a sense of whether the design fits not just aesthetically but spatially. If something doesn’t look right, I can simply wipe it off and try again. The design you see in this image is actually the tenth version!
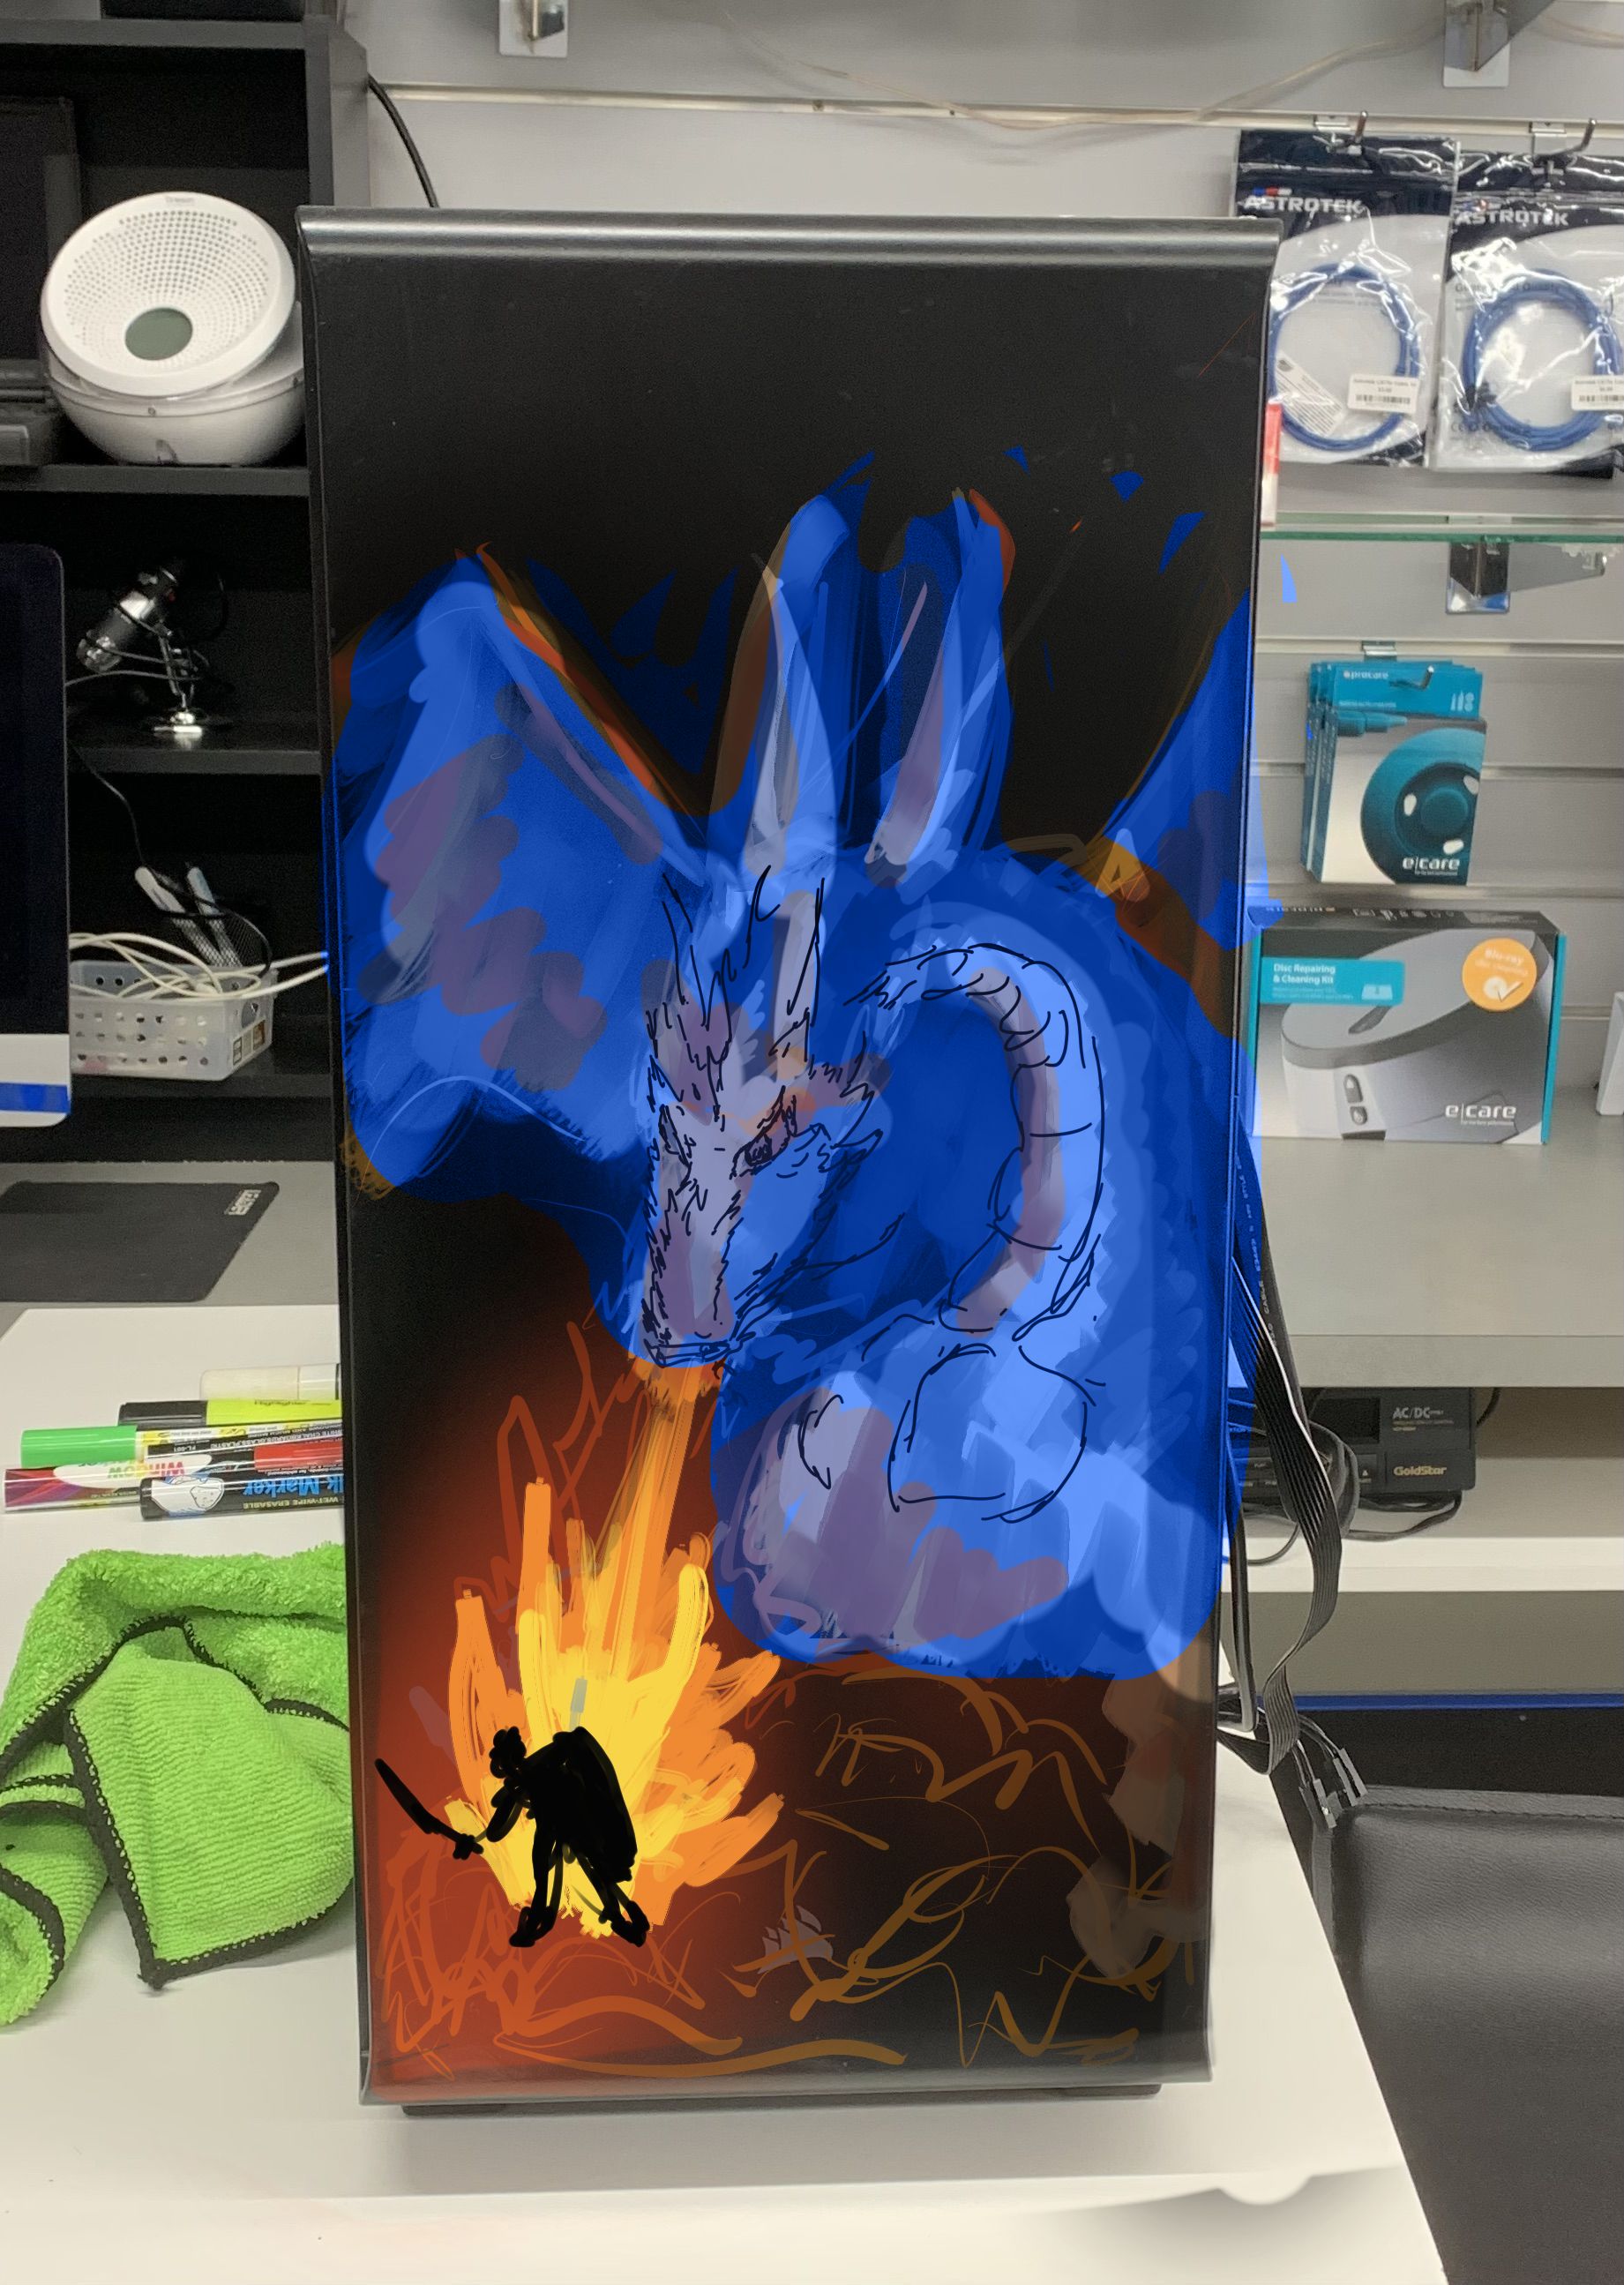
Step 3: Digital Mockups for Refining the Design

Once I’m satisfied with the general composition, I still like to refine the color scheme and overall layout before picking up the paintbrushes. Digital editing comes in handy here. I use digital painting tools to create mockups, allowing me to play with various color combinations and designs without risking mistakes on the actual case.
While digital mockups are just a sketch of what the final product will be, they offer a valuable chance to explore different ideas. We even offer digital painting classes and drawing tablets in our shop for those interested in learning this technique. Hand-painted Gaming computer case!
Step 4: Finalizing the Color Choice
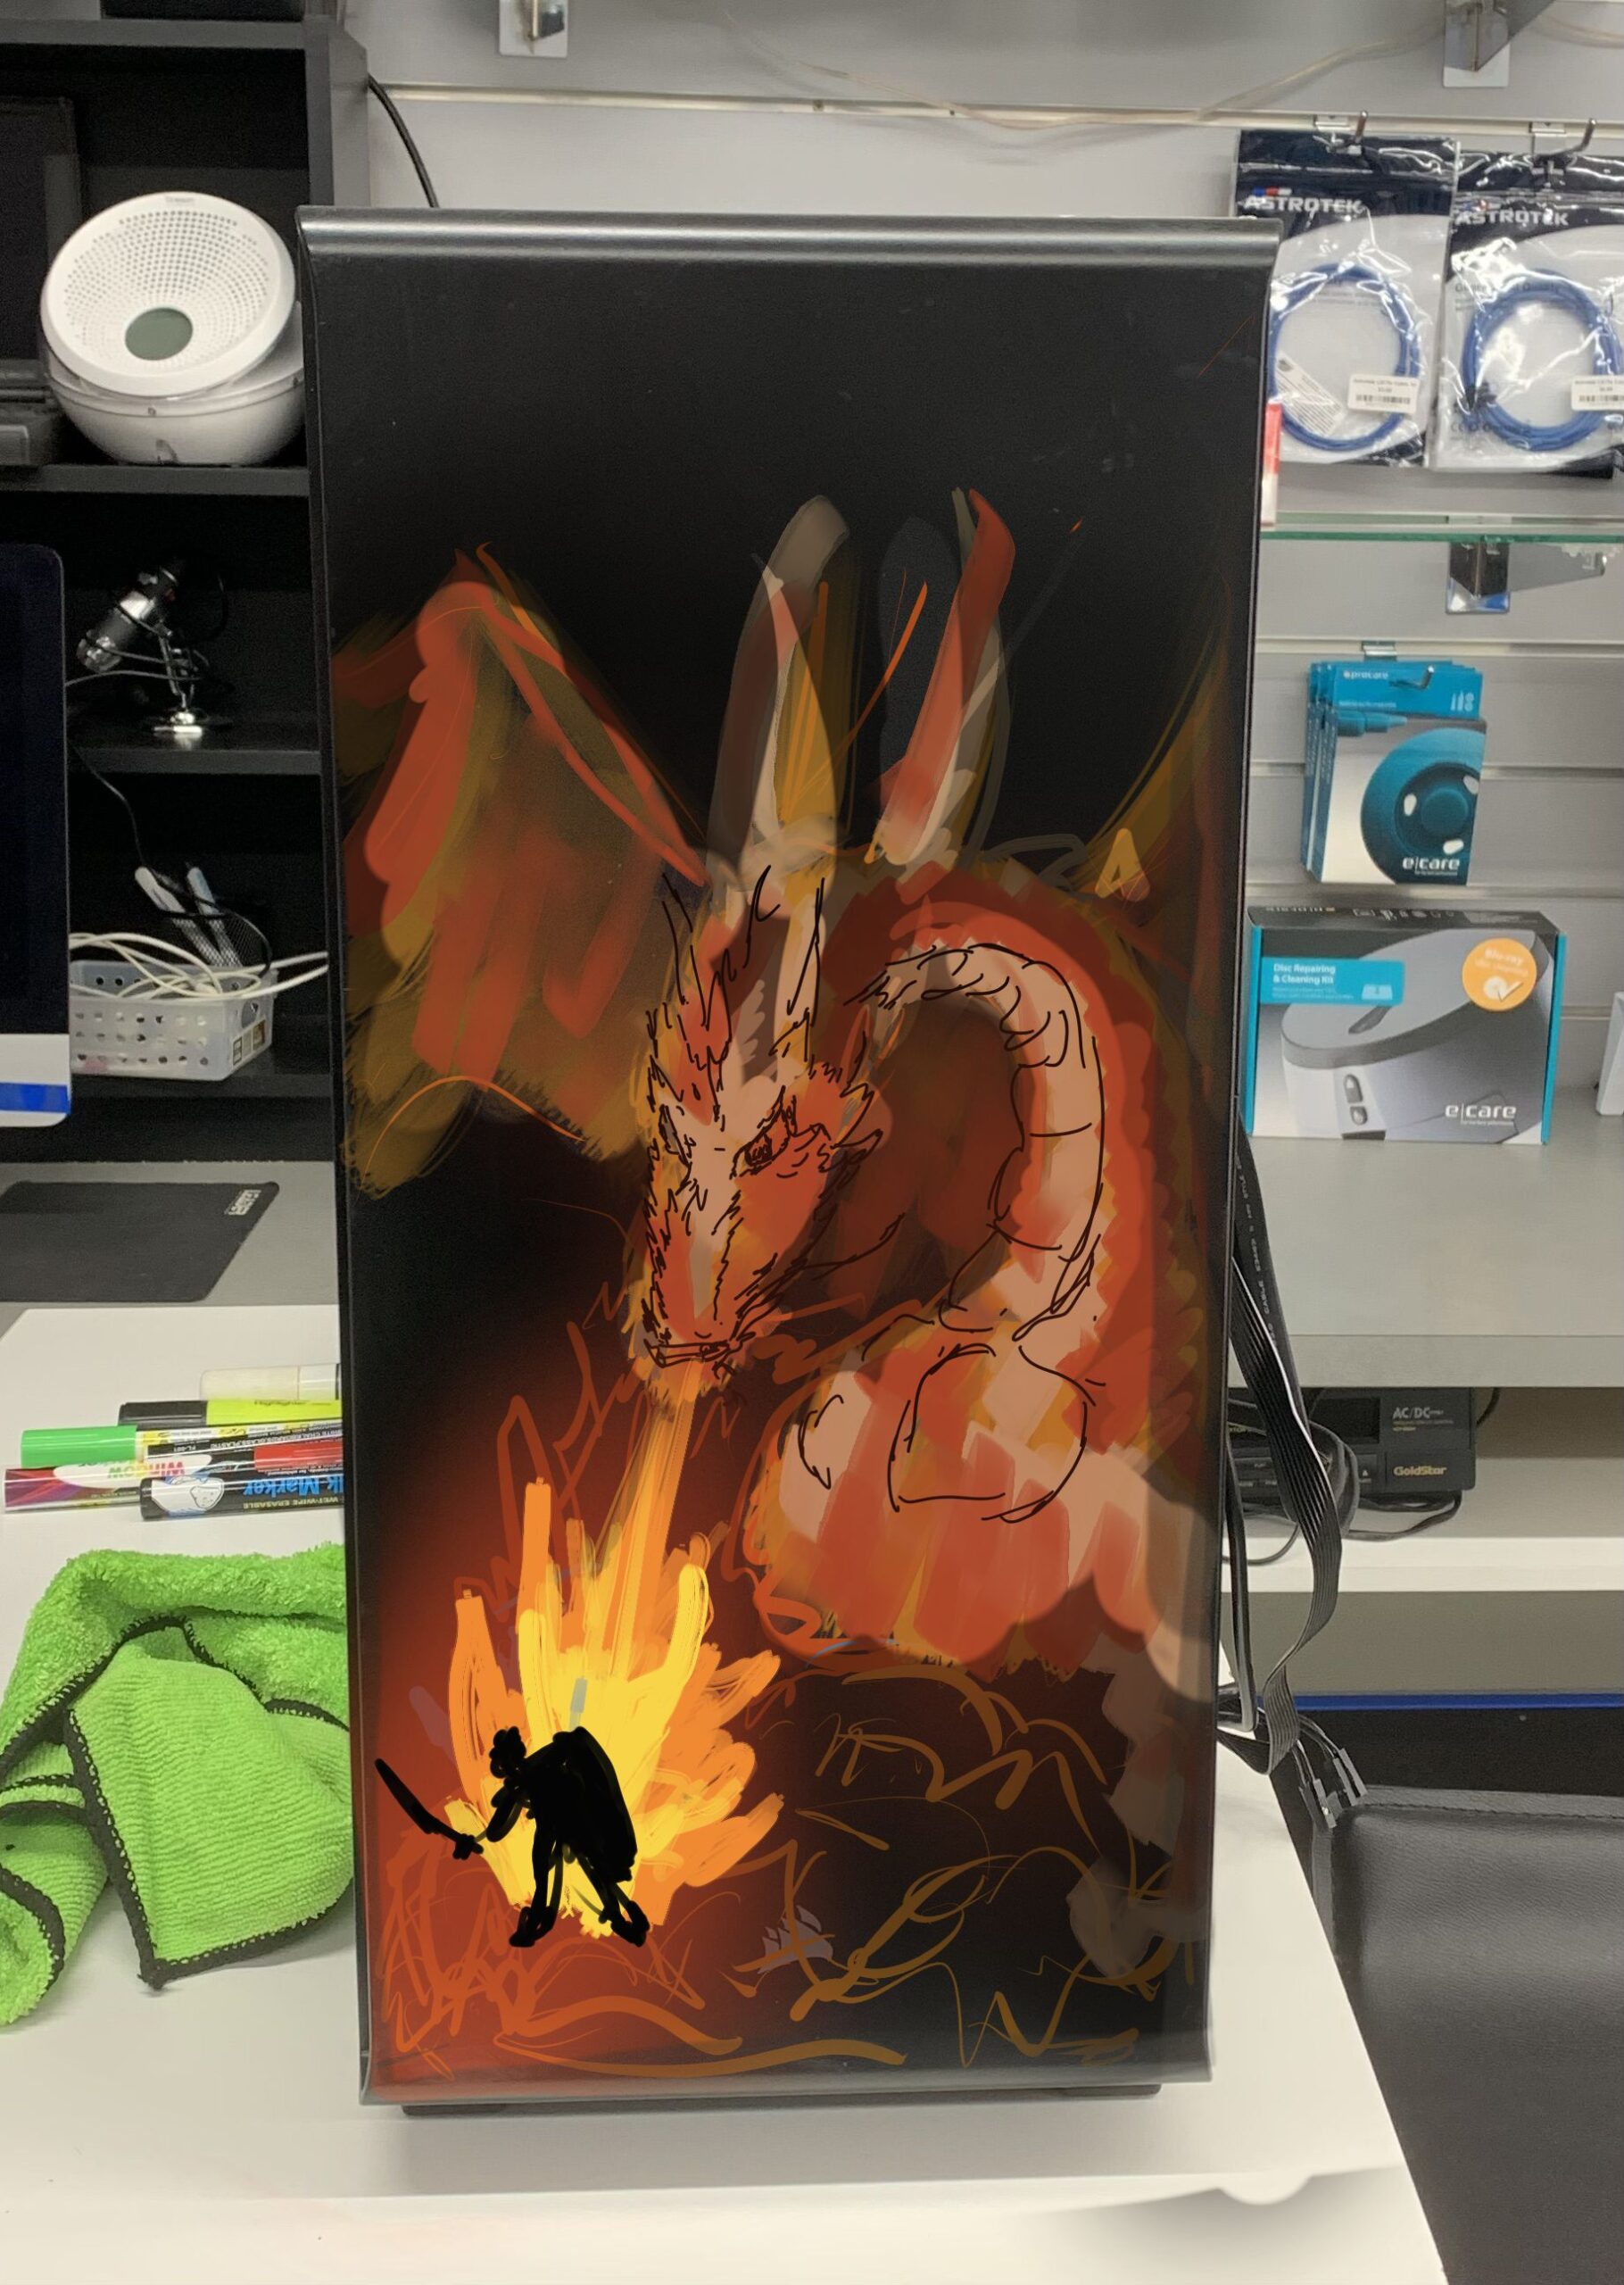
One of the most exciting parts of the process is experimenting with color. Since the blue dragon painting in our shop is so well-loved, I initially thought about replicating that design. However, after some digital mockups, I found myself drawn to a striking red palette. While it might be easier to make a case blue, I think the red colors give it a bold and unique look that will really make this mod stand out.
The final choice is red—and I can’t wait to bring this design to life with my brushes!
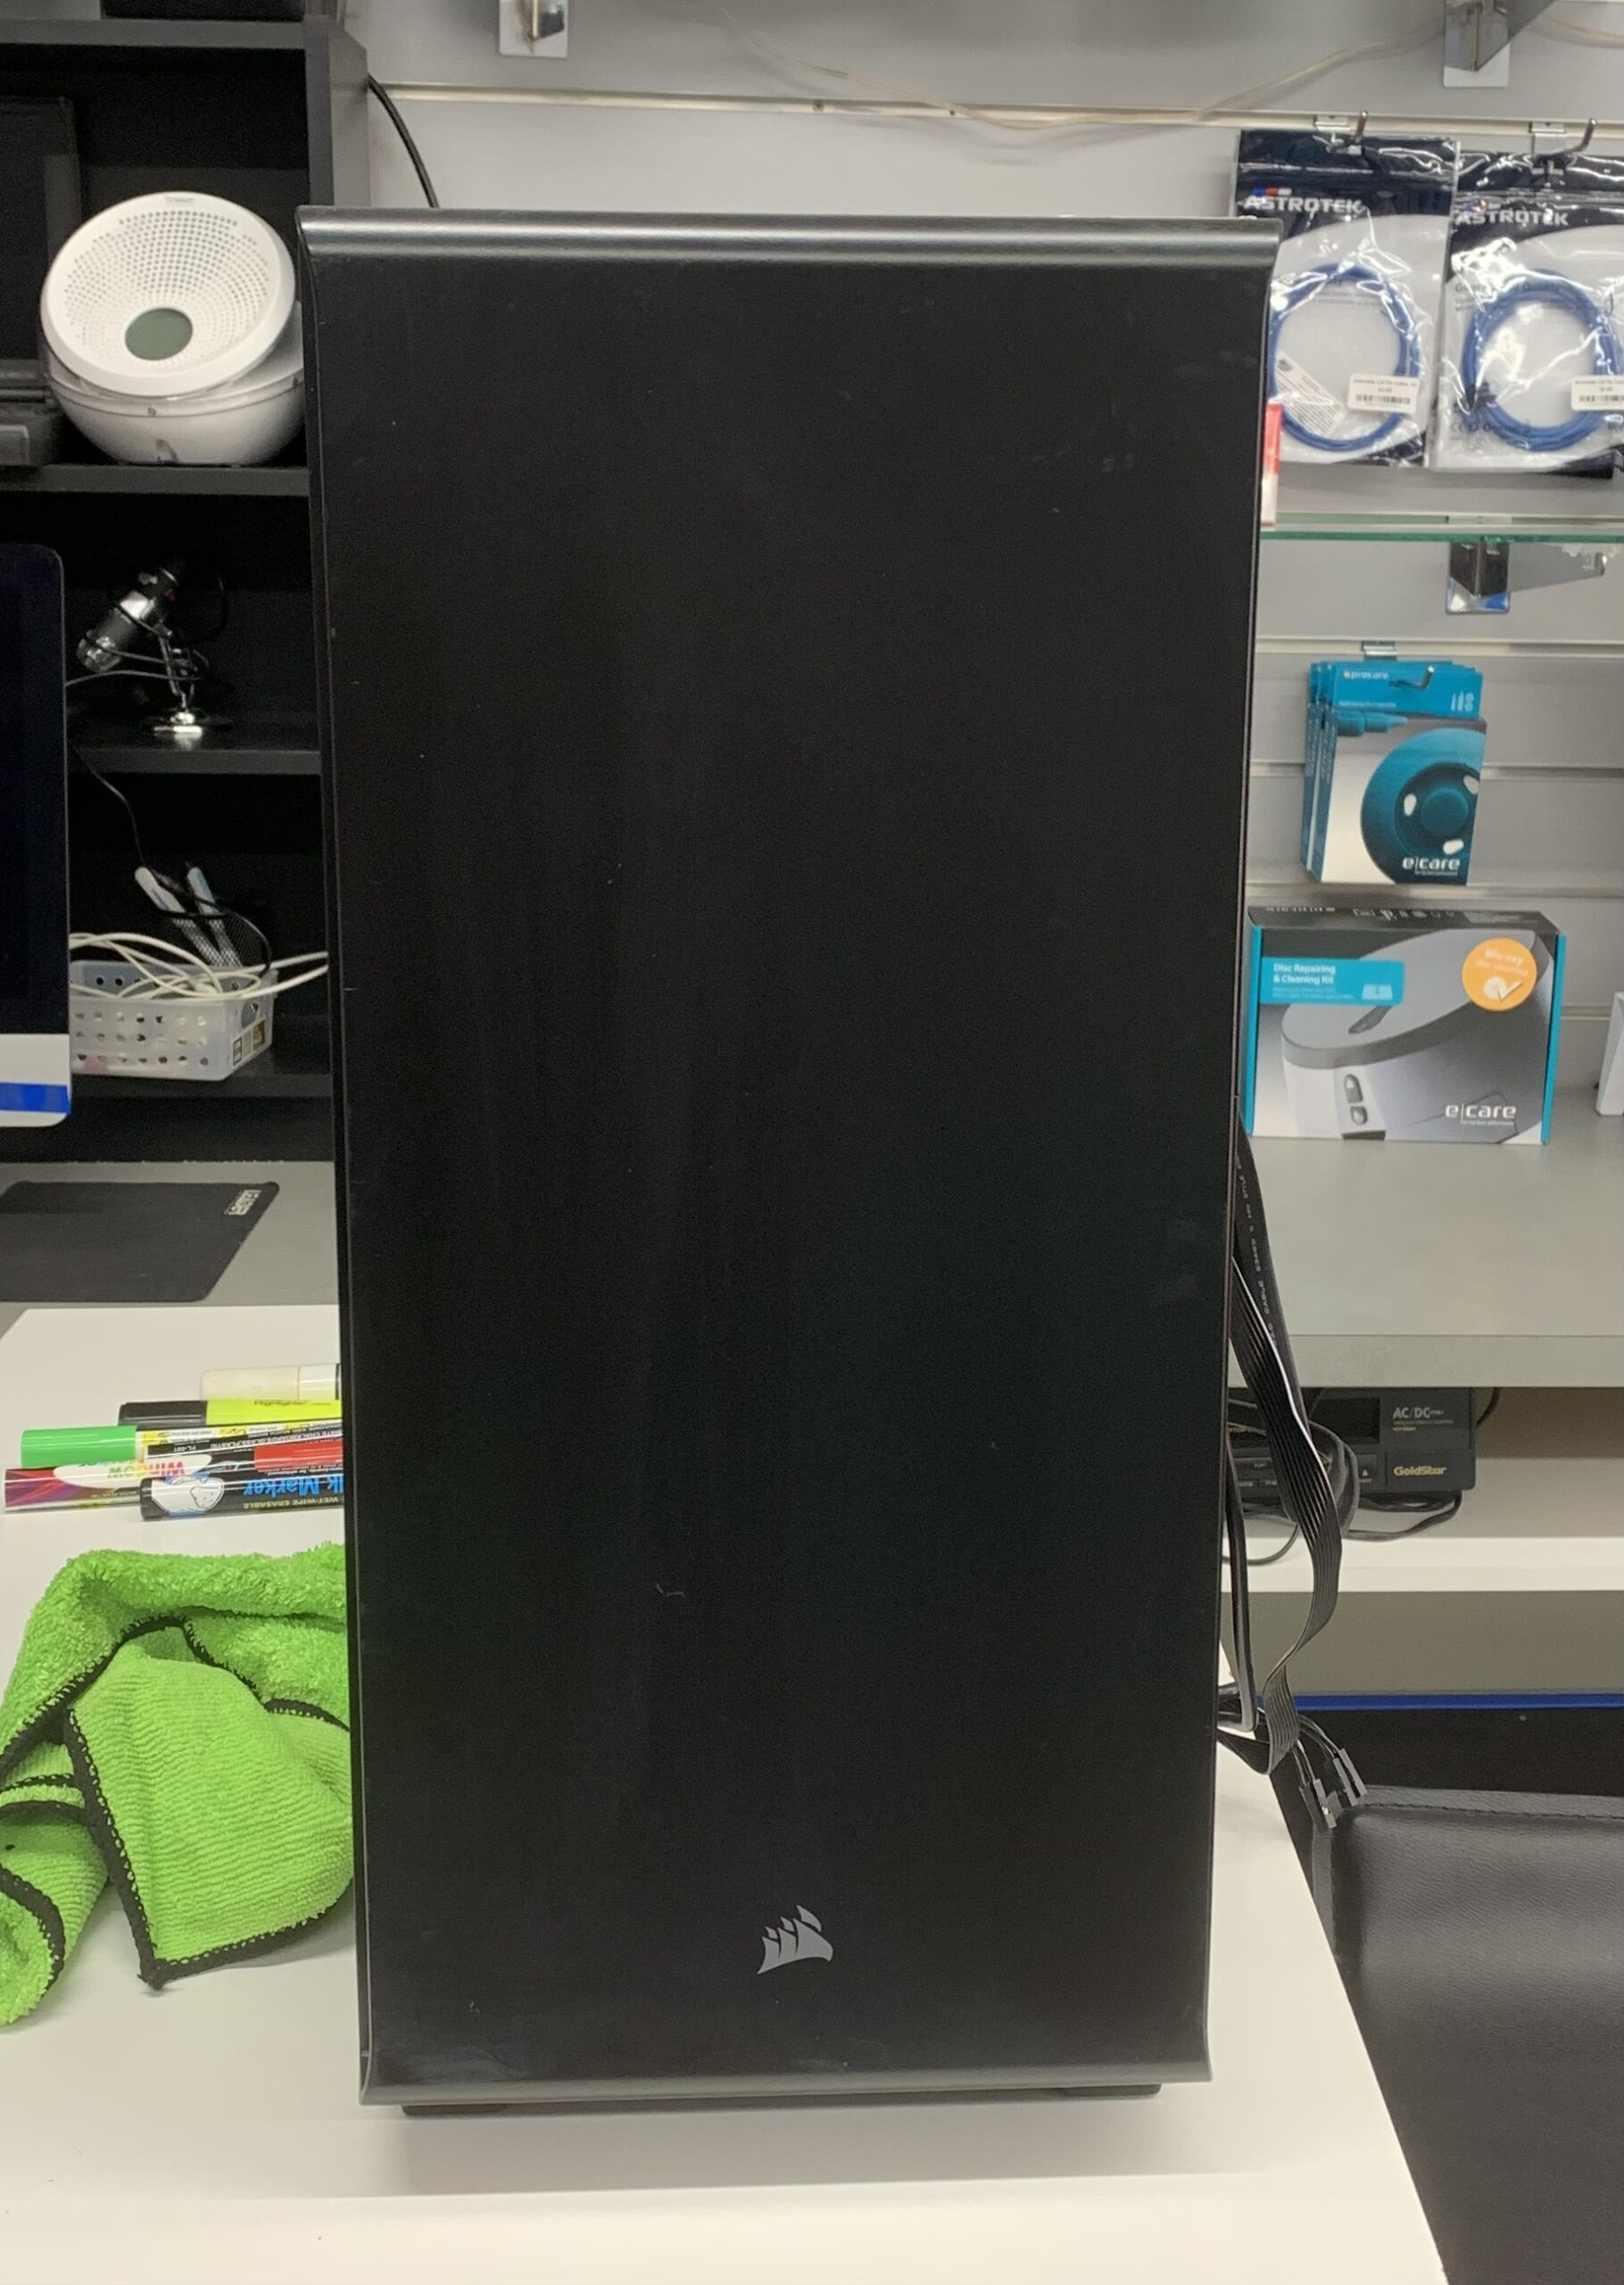
Now the Sanding of Hand-painted Gaming computer!
You did not think I was just going to paint directly on a computer case, did you? No way! We want to make sure the painting on the case lasts forever. So like a canvas in a painting, the computer case needs to be properly prepped! Unlike a canvas where gesso can be used a computer case needs to have all the factory paint removed.
I’m not going to show this process because it is boring.
Next Post!! the painting!
While I love digital art .. the whole point is to make something organic and unique. Hand-painted Gaming computer case here we come!


Discover more from LithGeek Custom Gaming Computers
Subscribe to get the latest posts sent to your email.
Posted
in
by
Tags:
“Lithgow Tech Services”, art and technology Lithgow, Blue Mountains gaming PCs, case modding tips, case mods Blackheath, computer repair Emu Plains, computer shop Lithgow, computer store Lithgow, custom builds Springwood, custom gaming PC designs, Custom Gaming PCs, custom gaming PCs Lithgow, custom PC NSW, custom rigs Orange, digital art tools Lithgow, digital painting Glenbrook, digital painting Lithgow, gaming builds Medlow Bath, gaming case mods Lithgow, gaming computers Penrith, gaming PC Katoomba, gaming PC Lithgow, gaming PCs Blacktown, gaming rig Lithgow, gaming setup customization Lithgow, hand-painted gaming case, hand-painted PC case, hand-painted PCs Leura, Lithgeek gaming PCs, Lithgeek Sydney, Lithgow tech services, PC art Lithgow NSW, PC building Lithgow, PC cases Mount Vic, PC modding art, PC repair Portland, tech services Bell, tech store Lawson