
Keep Your Computer Cool by Removing Dust from Fans: A Guide for the Residents of Lithgow and Surrounds
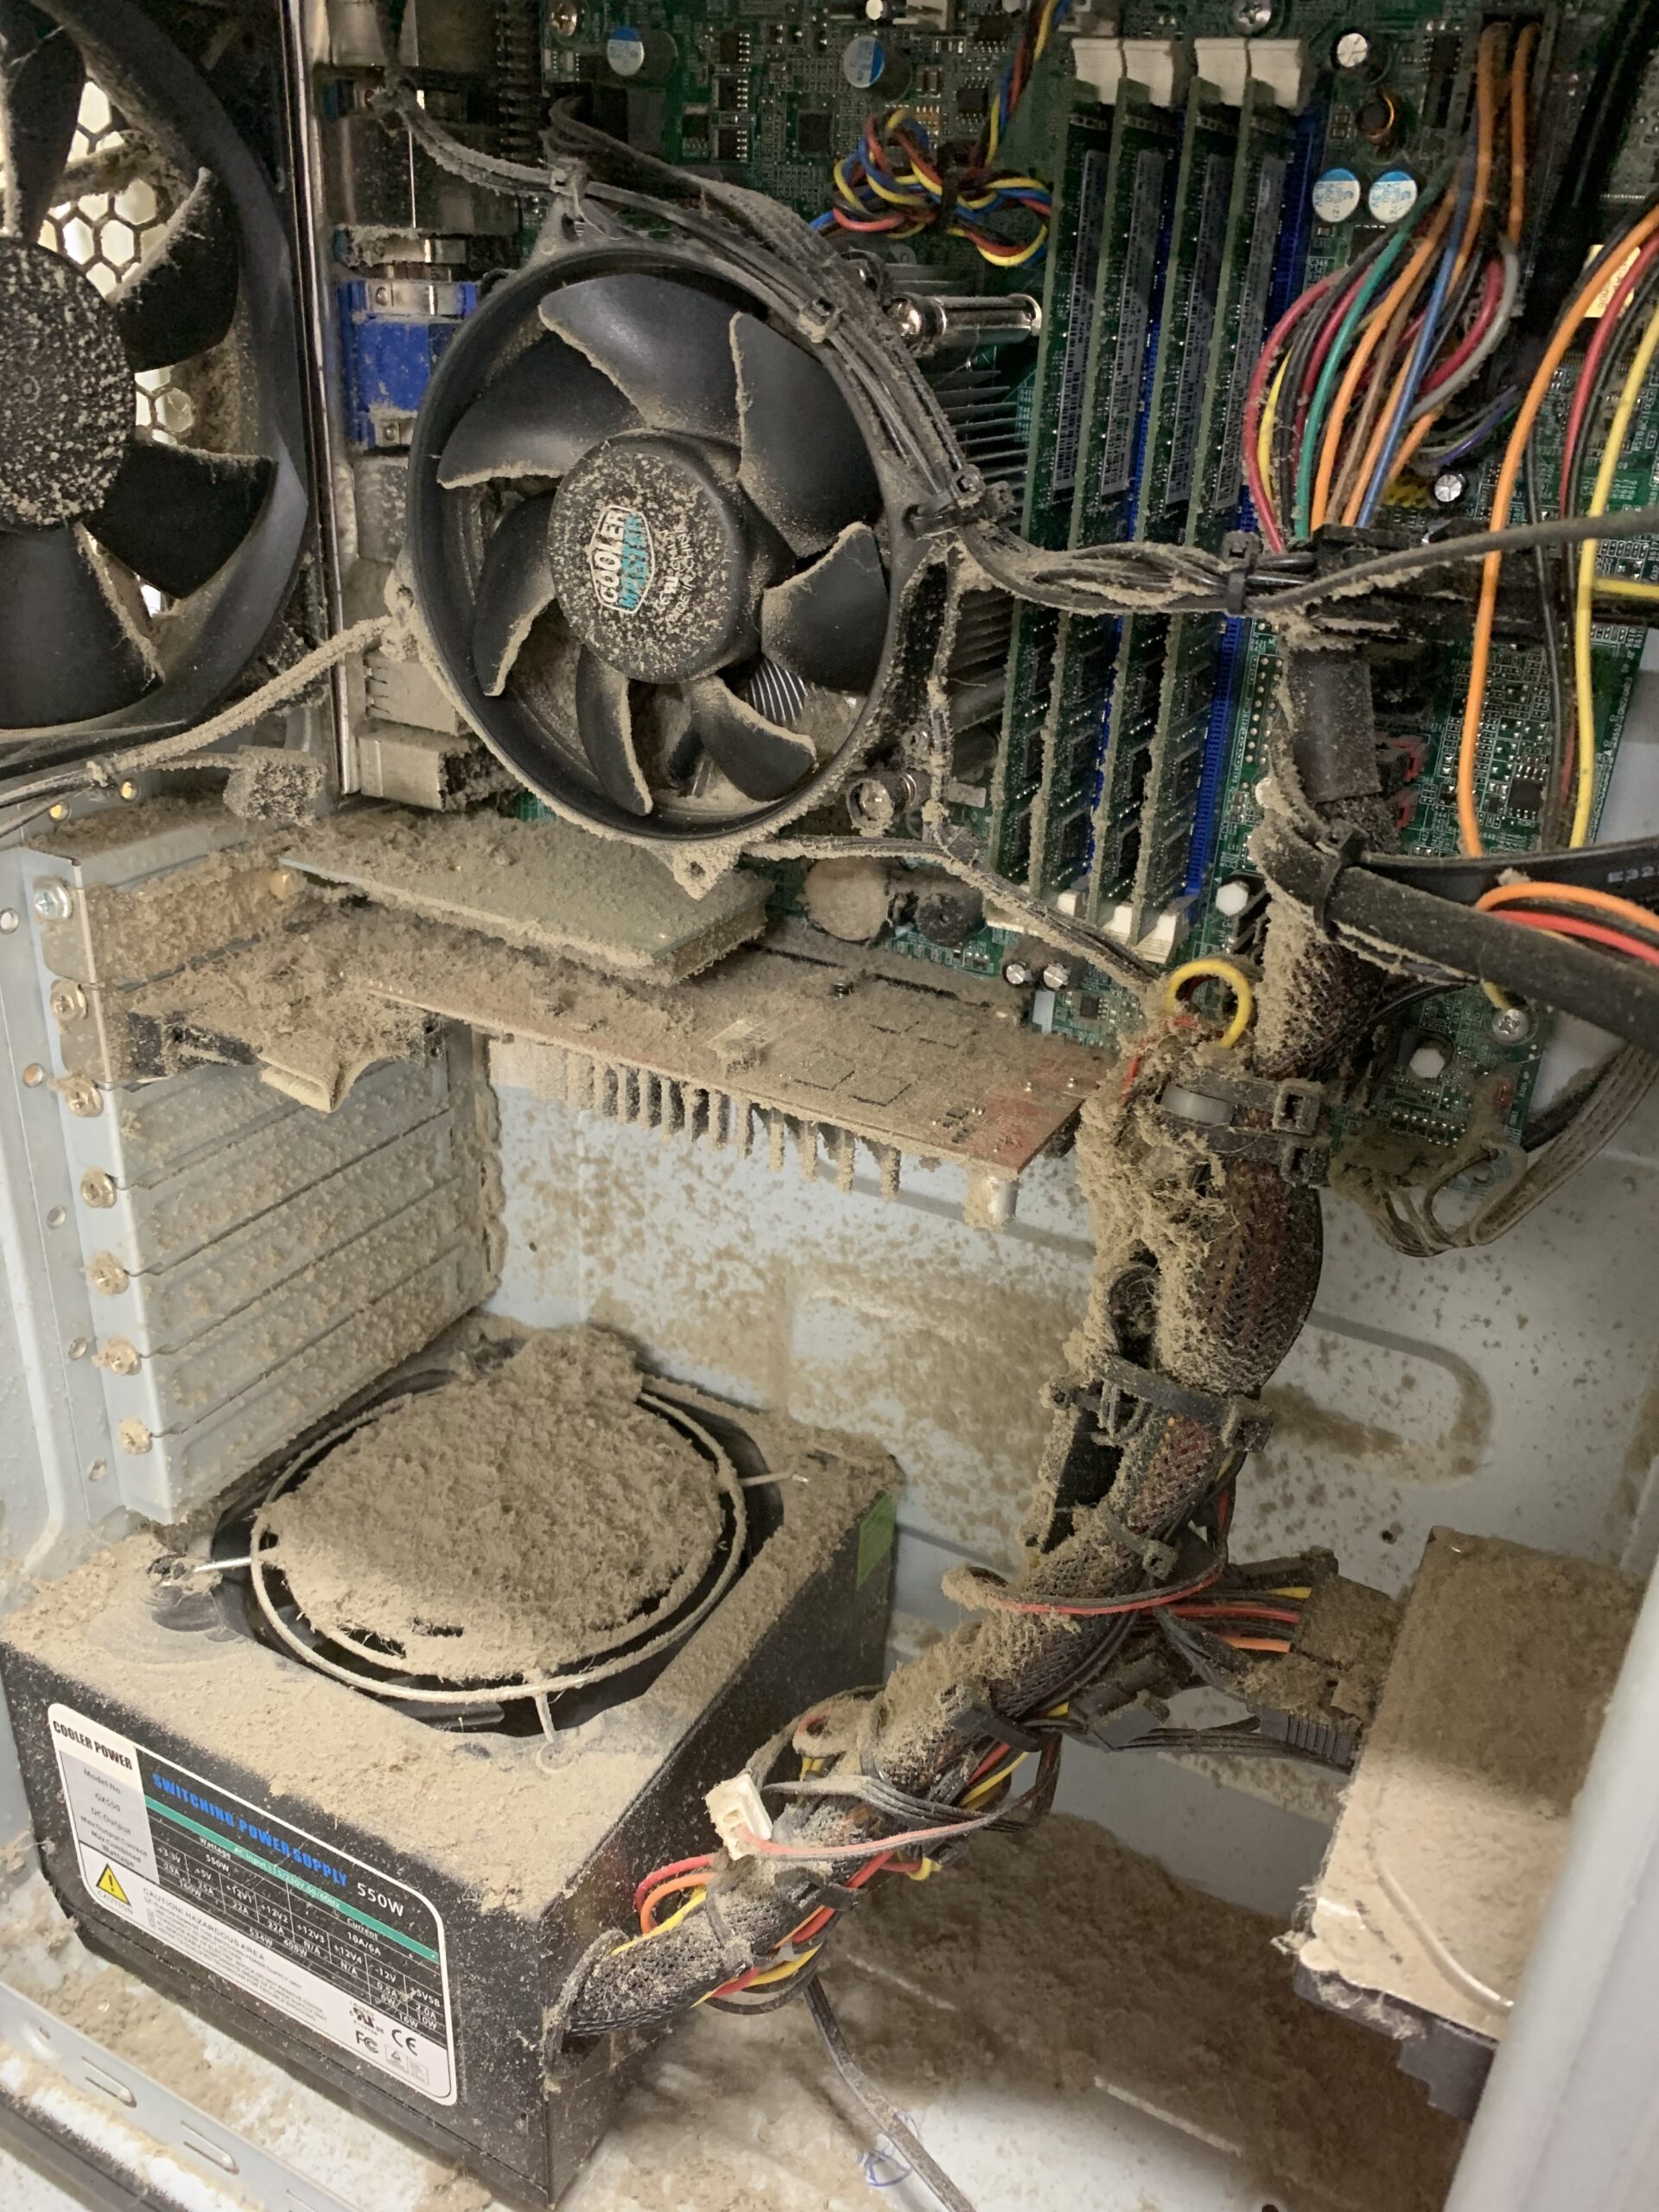
Dust – it’s the arch-nemesis of computer fans everywhere, and our towns like Lithgow, Katoomba, and Bathurst are no exception. Whether it’s the fine dust that sweeps through Leura in the summer or the kind that builds up quietly in our homes in Blackheath during the winter months, it finds a way into our computers. But why worry about a bit of dust? Well, it’s simple: dust buildup can significantly impact your computer’s performance, causing it to overheat, slow down, or even crash. Fear not, dear reader, for I bring you a step-by-step guide on removing dust from your computer fans, ensuring your tech stays cool and efficient.

Step 1: Preparation
Before you embark on your dust-removal quest, ensure your computer is turned off and unplugged. It’s a good idea to work in a well-ventilated area or even outdoors if it’s not too windy. You’ll need a few tools: a can of compressed air, a small brush (a paintbrush or a toothbrush works wonders), and a screwdriver to open your computer case.
Step 2: Open Sesame
Carefully open your computer case using the screwdriver. Different models have different methods of access, so if you’re unsure, check the manufacturer’s instructions or drop by Lithgow Tech Services at 85 Main Street, Lithgow. We’re always here to lend a helping hand!
Step 3: The Dust Hunt Begins
Now, it’s time for the dust hunt. Gently use the brush to loosen any dust build-up on the fans and other components. Be gentle; these parts can be delicate.
Step 4: Blast Away
Once you’ve loosened the dust, take your can of compressed air and start blasting away. Remember, keep the can upright to avoid any moisture from getting into your computer. Short bursts work best, and make sure to keep a reasonable distance to avoid damaging any components.
Step 5: The Final Sweep
After you’ve blasted most of the dust away, use your brush again for a final sweep. This will ensure you get rid of any stubborn dust particles clinging on for dear life.
Step 6: Put It All Back Together
Now that your computer is dust-free, carefully reassemble any parts you removed and close up the case. Plug your computer back in, and voilà, you should notice it running cooler and more efficiently.
For those living in the dusty locales of Katoomba or the windy corridors of Portland, keeping your computer free from dust can be a regular task. But, it’s well worth the effort to maintain your computer’s health and performance. If DIY isn’t your style, or if you encounter any issues along the way, remember, Lithgow Tech Services is just a hop, skip, and a jump away, ready to assist with all your tech needs.
And if you feel like you can’t do this your self We can help
As you can imagine we do this all the time. For us this is an easy repair. In most cases we are able to clear out all the dust in your computer under the one hour minimum labour charge. Bring in your computer for repair today!
-
 Deepcool RF120 FS Fan with LED$16.95
 -
RF120 FS LED Cooling Fan$16.95

